Advanced Animation Exercises
Advanced Animation
Name : Chan Huei Lian (0351597)
Advanced Animation | Bachelor of Design in Creative Media | Taylor's University
Task 1 : Exercises (20%)
INSTRUCTIONS
LECTURES
Week 1
Mr Kamal introduced the general idea about this module, and emphasized on the importance of Fluidity, Flexibility & Clarity.
- Fluidity : Timing, Spacing : slow-in, slow-out, Arcs.
- Flexibility : Drag, Follow Through & Overlapping.
- Clarity : Ideas (secondary action), Emotion (Exaggeration), Visual (staging), Solid drawing (pose study).
Animation methods : Pose to pose, Straight Ahead.
Pose & Timing : Key > Extreme > Breakdowns > In-between.
Performance : Acting (body), Lip sync.
Story structure : 3,6,9.
reference : The hero's journey structure.
3 act structure : Act 2 have to be the longest in timing.
Reference for tutorial (online) : Animation Mentor.
Workflow datelines :
W2 - W4 : 3 exercises (20%)
W5 - W7 : Project 1 - Walk Cycle (20%)
W8 - W10 : Project 2 - Timing & Variation. Action, planning > video reference (20%)
W11 - W14 : Final Project - Performance with acting & lip sync. (40%)
Week 2
Animation Quality :
- Fluidity > timing & spacing > slow in slow out > arcs
- Flexibility
- Clarity
Size resolution :
- high definition (HD) for digital video :
> 720p - 1280 x 720
> 1080p (full HD) - 1920 x 1080
Framerate :
> video TV - 25 fps
> film - 24 fps
Main keyframes are called Extreme Key drawings.
Graph editor is used to control spacing in 3D animation.
Week 2 Slides
Week 5
Human Rig Understanding
- Bone constraint properties > settings > FK/IK switch > left leg > 1 to 0 (then only u can rotate the left leg ankle rig.
PROGRESSION
Week 2 - Ball Animation (Bouncing)
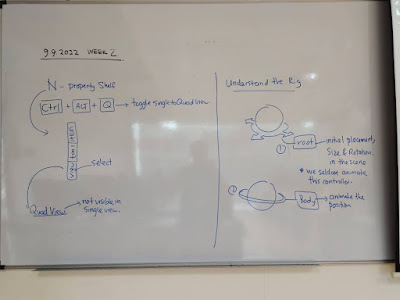
1) Understanding the rig
Root - Initial placement, size, rotation in the scene. (seldom used for animation)
Body - creates position.
Spin - Rotation for animation.
Squash - squash and stretch.
2) Graph editor
ctrl + middle mouse button to expand / shrink graph details.
3) To display arcs on 3D viewport :
Object Data Properties (choose the icon with running man) > motion paths > end : 50 > calculate > create
4) To display arcs on 3D viewport :
to break the curvy / wavy to have a sharp end at the curve, select the key on the graph > right click, handle type > free.
Exercise 1 progression
Ball Animation - Location (Exercise 1)
Week 4 - Stretch & Squash (Ball Bouncing)
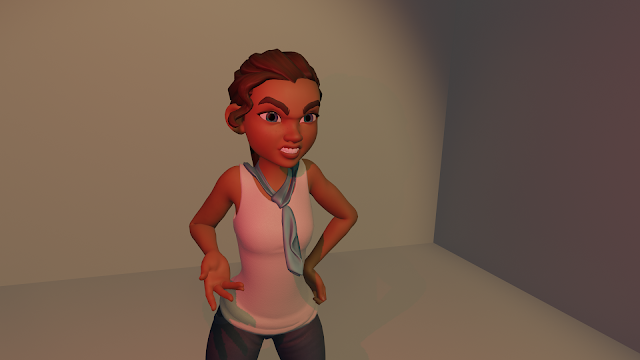
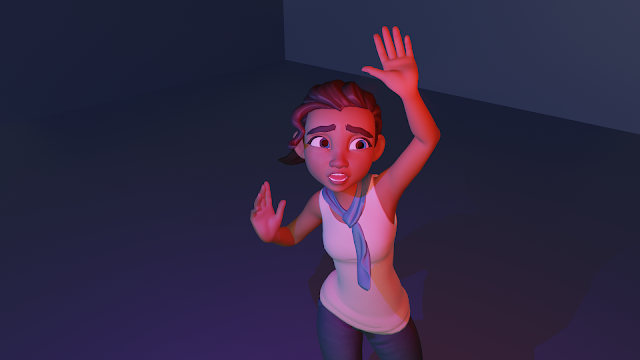
W5 - Character Pose Study


.jpeg)


.jpeg)


.jpeg)

.png)
.png)
.png)
.png)


Comments
Post a Comment